Tutorial: Smocking...
Originally I was going to knit the front and back pieces of Bonnie without any waist shaping and go back with a needle and extra yarn to create the smocked section as demonstrated on Knit Lit. However, I knew finishing the pieces like that would take forever given my bad relationship with sewing or anything resembling sewing. Then I found this video on how to knit smocked ribbing, which gave me an idea for how to do the smocking for Bonnie. (Excuse the photo quality. Today's lighting wouldn't cooperate.)
The stitch pattern I'm using is *K1, P4* K1.
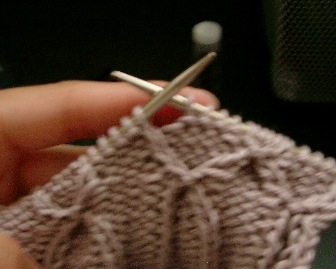
1. Slip knit stitch (K st) to cable needle (CN).
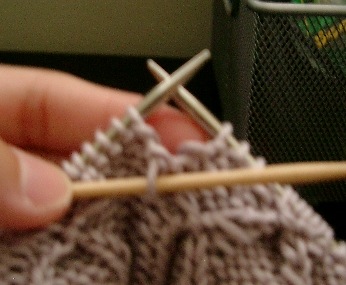
2. Slip 4 purl stitches (P sts) to right needle (RN).
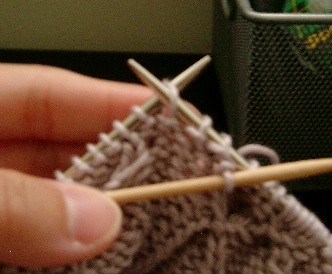
3. Slip K st to CN.
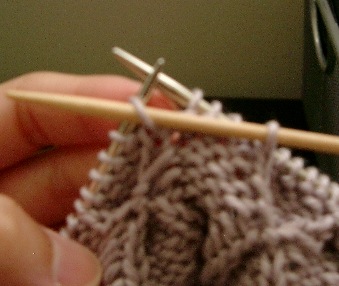
4. Slip 4 P sts from RN back to left needle (LN).

5. With working yarn, wrap 2 sts on CN twice.
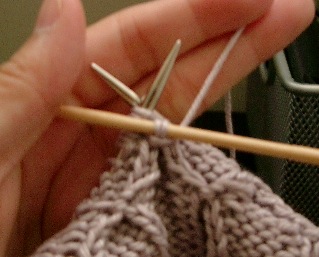
6. Knit 1 st from CN.

7. Purl 4 sts from LN.
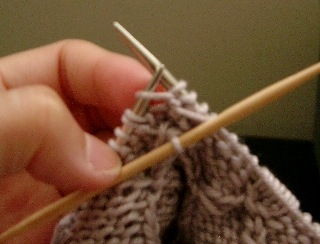
8. Knit remaining st from CN, and purl next 4 sts.
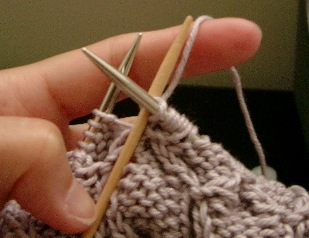
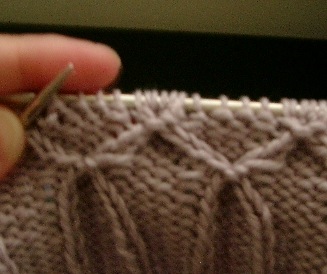
Repeat.
Bonnie will need to be set aside for a little bit. I have an unexpected deadline on a couple projects.
The stitch pattern I'm using is *K1, P4* K1.
1. Slip knit stitch (K st) to cable needle (CN).


2. Slip 4 purl stitches (P sts) to right needle (RN).

3. Slip K st to CN.

4. Slip 4 P sts from RN back to left needle (LN).

5. With working yarn, wrap 2 sts on CN twice.

6. Knit 1 st from CN.

7. Purl 4 sts from LN.

8. Knit remaining st from CN, and purl next 4 sts.


Repeat.
Bonnie will need to be set aside for a little bit. I have an unexpected deadline on a couple projects.

<< Home